 Skip to content
 Install Sumac
Download Sumac (All Platforms)
1. Download the installer that corresponds to your operating system:
2. Click Save File if you are prompted with a dialog asking how to proceed.
3. Locate the downloaded file. In different browsers it may appear differently:
4. Follow the run instructions that correspond to your operating system.
Install Sumac on Windows
1. Double click SumacInstaller_win_20190716.exe found in your downloads folder.
2. You may get a warning on your computer asking to verify that you would like to allow this app to make changes on your device. Confirm that the Verified Publisher is Silent Partner Software, then click Yes
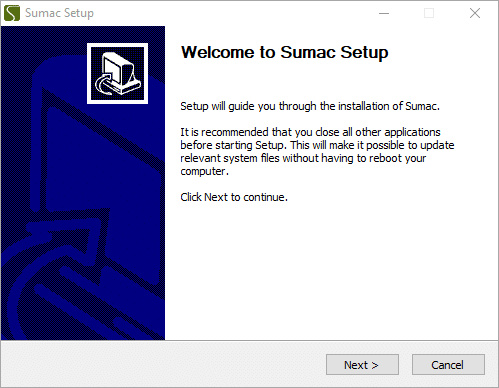
1. Follow the steps on the Sumac Setup Installer
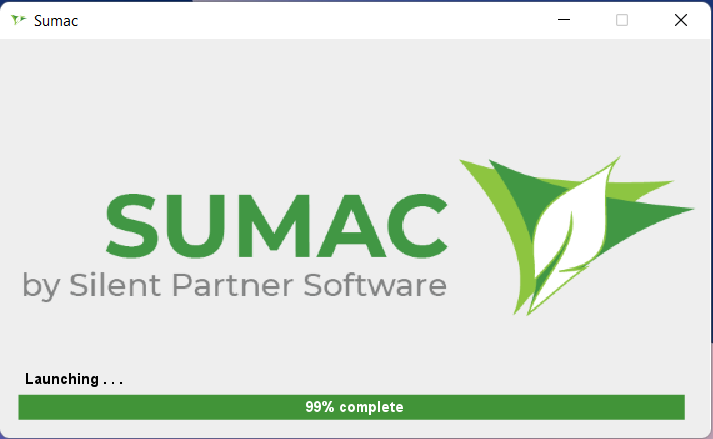
2. Wait until it the installation has completed. Then, set the Launch Sumac checkbox and click Finish.
Install Sumac on macOS
- Delete all the existing shortcuts for Sumac from your desktop.
- Open a Finder window, and go to your Library > Application Support folder. Delete Sumac from this folder too by dragging it to Trash.
- You may see a message saying that Sumac is from an “unidentified developer.” If you encounter this message, right-click the Sumac icon, and select Open. Opening Sumac this way allows you to tell your computer that you trust the Sumac application, even if it did not come from the App store. For more information please see the Apple support topic on this issue.
- Click Open, and Sumac launches as normal and can now be accessed from your applications folder. You will not need to do this right-click step when you log into Sumac in the future.
Install Sumac on Linux
1. Remove all old Sumac shortcuts.
2. Open terminal at the download directory.
3. Extract the file: tar -pzxvf SumacInstaller_linux_20190109.tgz
4. Next, change the directory: cd Sumac
5. Install Sumac as root user: ./InstallSumac
6. Run Sumac by entering: sumac
Technical Help
Phone: 877-399-4645
E-mail: support@sumac.com